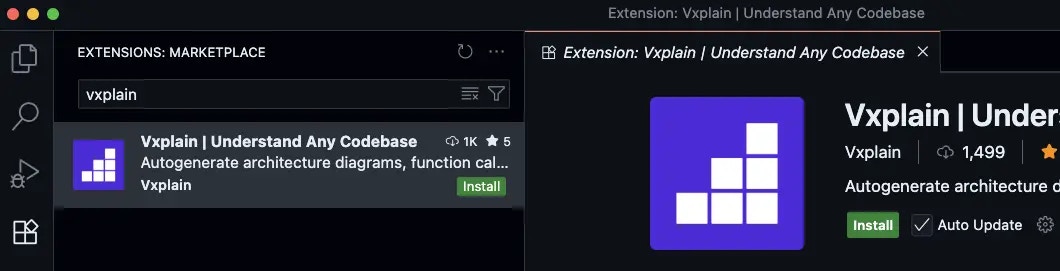
Installation
- Open Visual Studio Code/Cursor/Windsurf.
- Go to the Extensions view by clicking on the Extensions icon in the Activity Bar on the side of the window or by pressing
Ctrl+Shift+xorCmd+Shift+xon Mac. - Search for
vxplainin the Extensions view search bar. - Click the
Installbutton for the Vxplain extension.
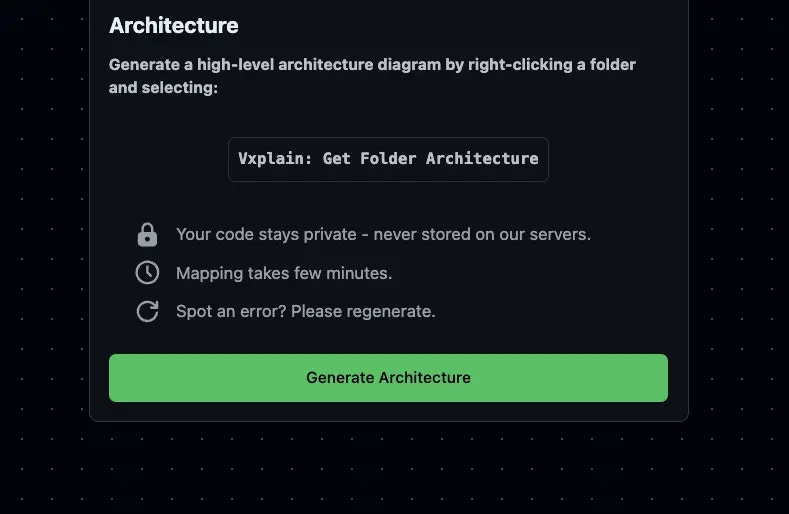
Generating Your First Architecture Diagram
Once you have installed Vxplain, you can generate an architecture diagram of your codebase.- Open your project in Visual Studio Code/Cursor/Windsurf.
- Click on the Vxplain logo in the sidebar.
- Click on
Generate Diagram.